Press the ECM bracket back to the angle brace and install the bolt in the newly tapped hole. Then install the lower right ECM bracket bolt in the original position. Install the reservoir elongated hole bolt first snug but not tightened. Then install the reservoir upper right bolt back into the ECM bracket. As you tighten, press the reservoir towards the ECM. Then tighten the lower bolt. The bottom right bolt is not used. Reconnect the pump and supply line.

Prepare for stock hinge removal.
Open doors, remove the door detent bolt and push it into the door (the flap will not go inside) This is difficult and bracing the flap against the car frame, then closing the door will push it in.
(If you do not do this, you will not be able to open the door after replacing the hinge) Reopen the door and apply tape on windshield frame and squat down until your eyes are level with the flat surface of the door. Use a permanent marker and draw a line on the tape level with the top of the door (
this is important, the door will sag a little when you pull the old hinge off and serves as a reference to position the door).

Close the door.
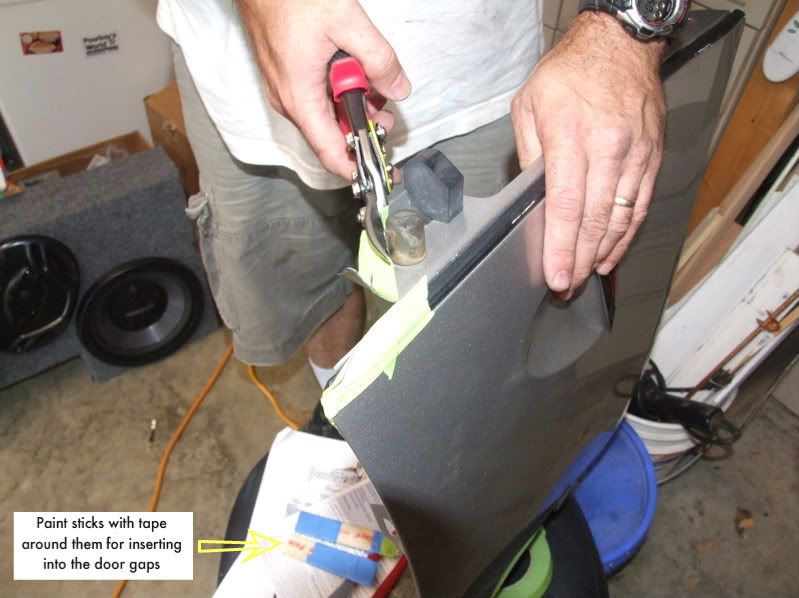
Use paint sticks, 3" pieces, and wrap tape around them until they fit in the door edges. Insert one even with the door handle and on the bottom of the door. hold it in place with a piece of tape. Use several pieces of tape from the door to the windshield.

Apply a piece of tape to the front edge of the door by the hinge bolts to protect it. Remove the old hinges #10mm and #13mm bolts.
Install the new hinges, hand snug the 4 long bolts with washers against the car frame. Install the 4 short bolts with washers into the door. have a friend hold the door up to verify the top of the flat surface of the door is level with the line you previously drew on the tape. Tighten down the door bolts then tighten the 4 bolts to the frame. Adjust the bolt with the jamb nut to stop the door from sagging. This adjustment will allign the door striker to the latch. Then remove the tape and have a friend support the door to install the piston. Readjust the door as required, never loosing more than 3 of the 4 bolts on the door or frame.
Apply tape on the inside of the hood for marking off the hole to be cut.
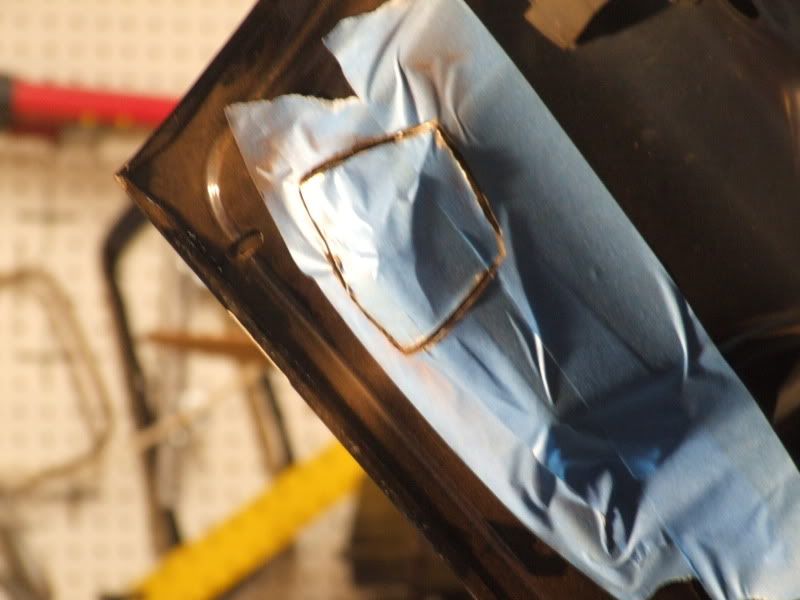
A picture of the template is attached so you can make one. Cut out the green portion of a 8 1/2 x 11 sheet and write left and right sides on it. It is best to print on a regular sheet, cut out, transfer to a thicker material. The right lower corner of the picture goes to the corner of the hood.
[ATTACH]1003[/ATTACH]
Use a cutting wheel to carefully remove the metal


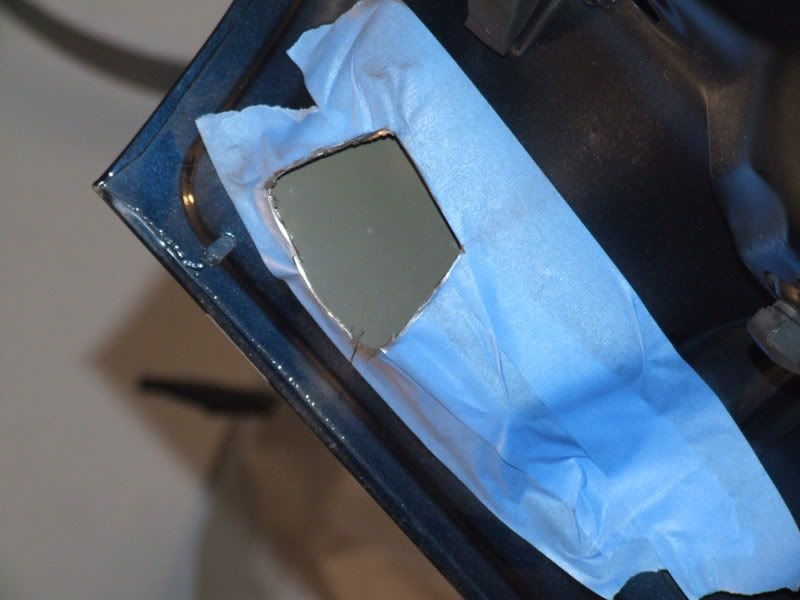
While the tape is still on, spray the inside of the hole black or another color close to your body color to make the hole less visible. Remove the tape and debur the hole and touch up with paint.
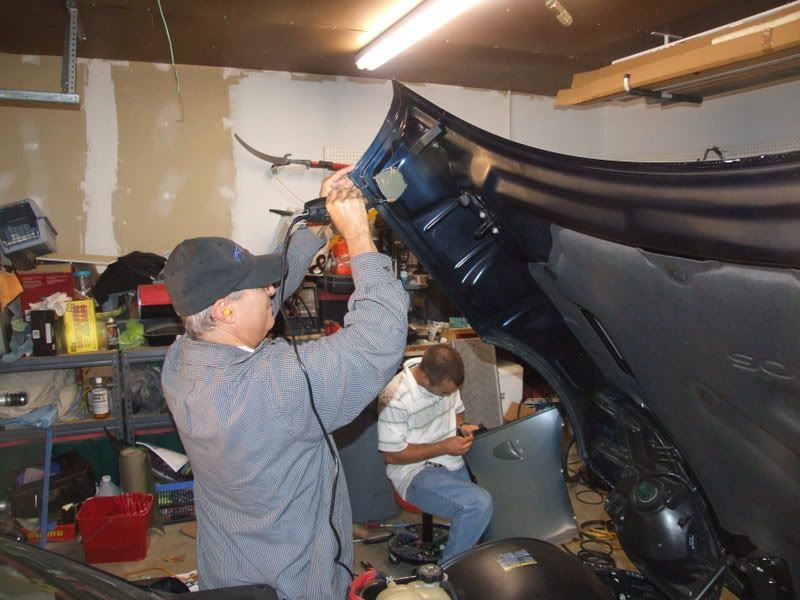
Do this to both sides of the hood. Close the hood and check for alignment to the door, if everything looks good, then reinstall the quarter panel frame and quart panels. Then there is one more set screw to adjust to prevent the door from opening too far and hitting the fenders.


